Welcome to this easy tutorial where we’ll show you how to transform an empty room into a beautifully furnished space using AI, specifically with the online software InstantDeco. In just a few steps, you’ll be able to create stunning room designs that fit your style and needs. Let’s get started!
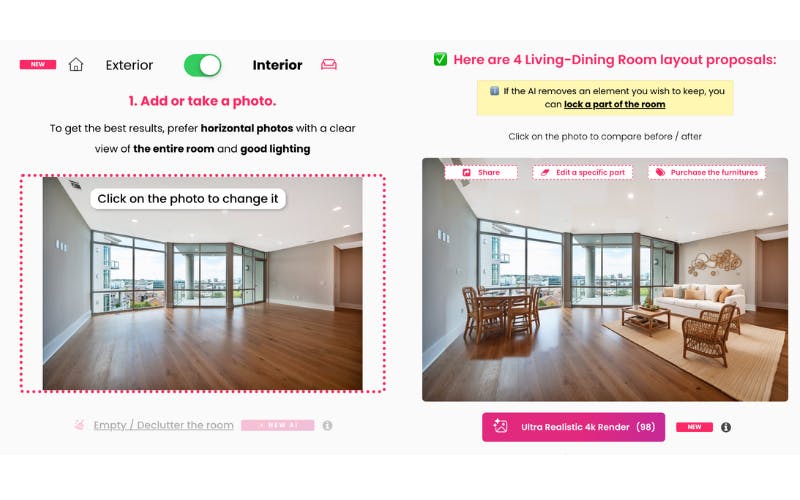
First, navigate to the InstantDeco software and upload a picture of the room you want to furnish. Make sure the room is clearly visible in the image for the best results.
Tip: The better the quality of your photo, the more accurate the AI will be in furnishing your room.
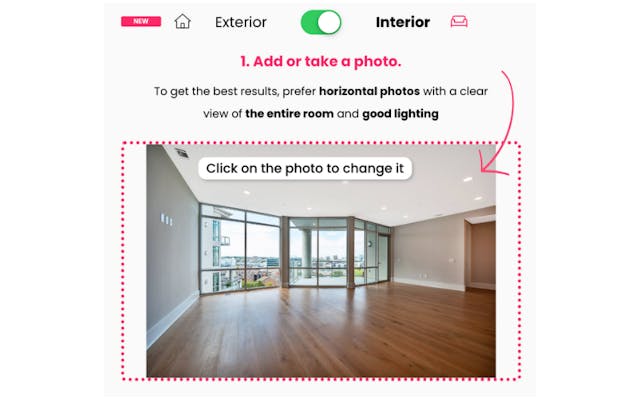
Once your picture is uploaded, make sure to select the “Virtual Staging” option to allow the AI to add furniture to the image.
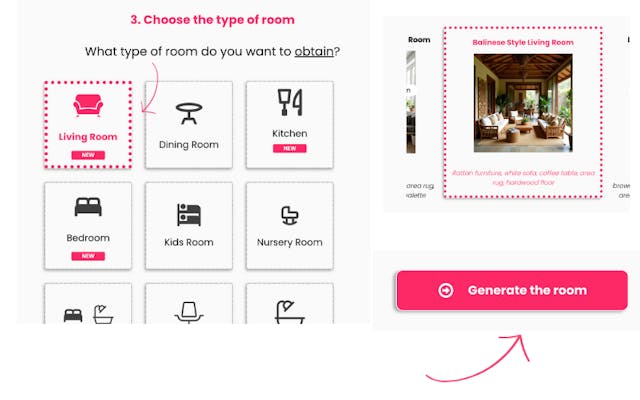
Now, it’s time to tell the AI what kind of room you’re furnishing. You can choose from options like living room, dining room, bedroom, etc.
Next, pick your preferred design style. InstantDeco offers a variety of styles, including:
For this example, let’s go with a Balinese-style living room.
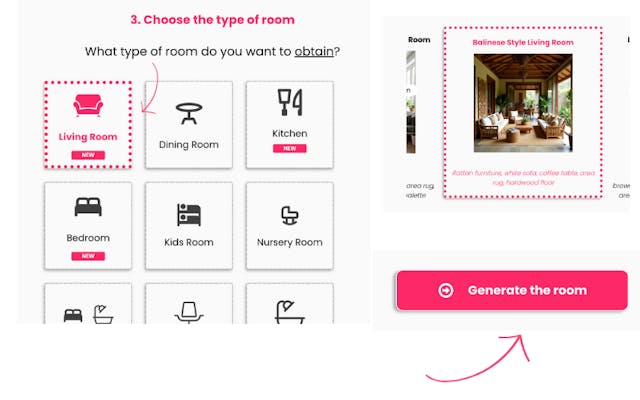
After selecting the room type and style, click to generate your designs. The AI will take about 30 seconds to create four different furniture arrangements based on your preferences.
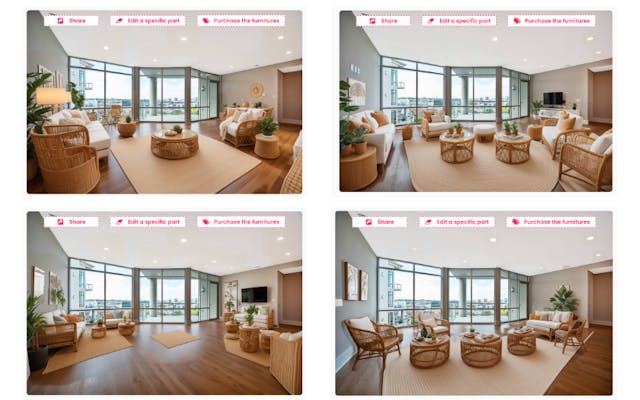
Once the AI finishes, you’ll have four design proposals to choose from. You can review the results and decide which one fits your vision best.
Tip: If you’re working with clients, you can even add your company’s logo and legal notice to the images. The logo will appear in the bottom left, and the legal notice will appear in the bottom right corner of the photo.
You can download the results in high resolution and use them for listings, presentations, or your personal projects.
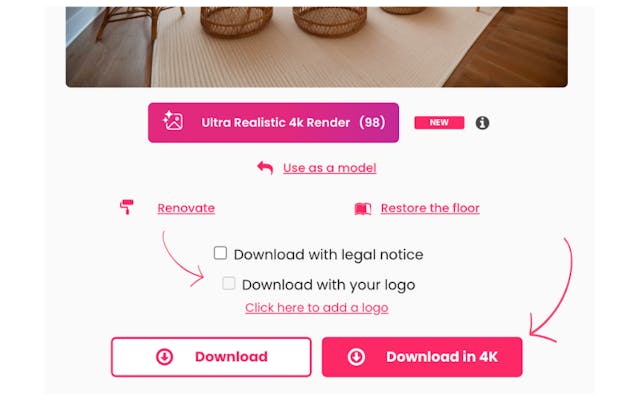
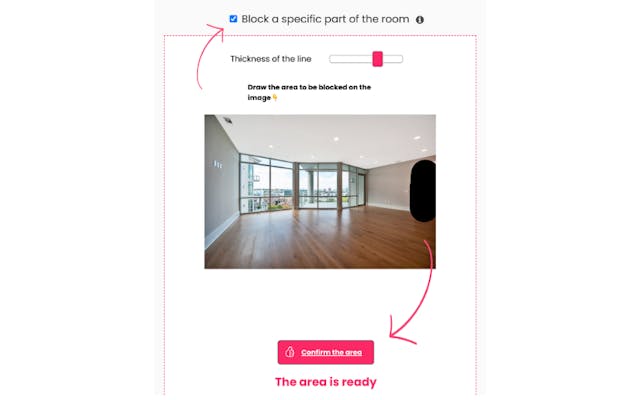
If you notice something in the design that you want to adjust (e.g., the AI adding furniture in front of an entrance), you can block specific areas of the room using the software’s editor. Here’s how:
This feature allows you to have complete control over where the furniture goes.
Want to divide the room into different areas? For example, add a dining room next to a living room. Here’s how:
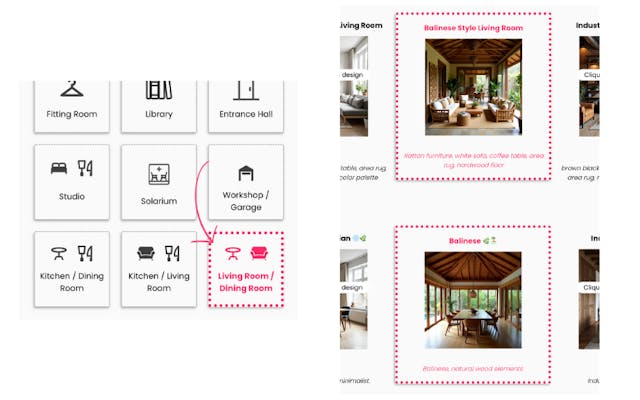
For more control, you can also tell the AI to furnish only specific parts of the room. For example:
This feature allows you to create multi-functional rooms easily.
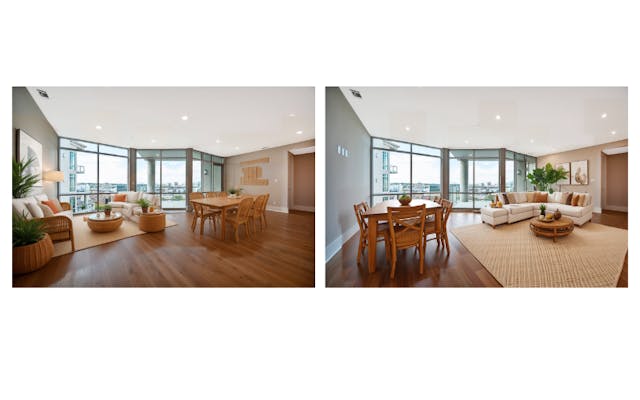
Once you’re happy with the design, you can use the “realism” options in InstantDeco to make the room look even more lifelike. Adjust lighting, shadows, and furniture textures to create a realistic representation of the space.
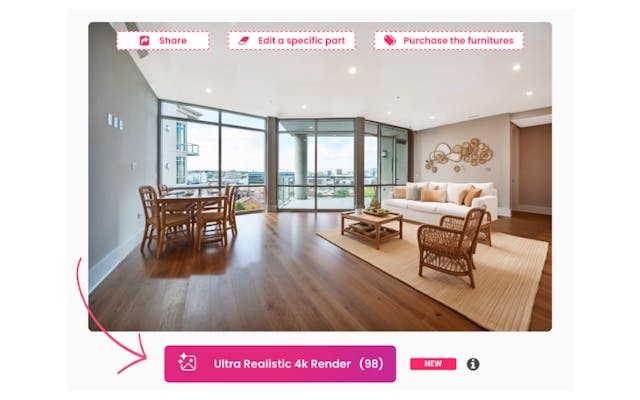
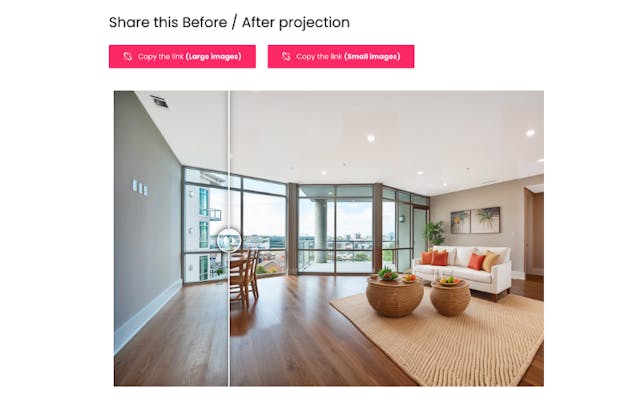
A simple online tool for AI Virtual Staging on your mobile and web browser
More than 25 000 professionals
" I am receiving a lot more calls for viewings of properties that previously attracted no interest, all thanks to overcoming challenges with poor decoration or condition of certain rooms. "
" I'm experiencing a remarkable boost in lead generation, attributed to enhanced photos in my listings. These improvements have effectively addressed issues where potential clients struggled with visualizing the space, leading to increased engagement. "
" With the ability to swiftly adapt to my clients' preferences, I can now assist them more effectively in visualizing their dream properties. This service has not only delighted my clients but also ensured their repeated trust and contact. "
" Having difficulty in visualizing myself in properties listed online, I found that these innovative layout simulations were incredibly eye-catching and helpful. "
" By utilizing this tool, I was able to provide a more comprehensive and appealing set of photos of my property to my real estate agent, transforming spaces I previously considered unattractive. "
" The tool from InstantDecoAI has been an extraordinary aid in initiating my projects and sparking inspiration, elevating my interior design work to new heights. "
$ 10 000
Savings
50%
Time savings
Performance
Clients